이번 포스트부터 스프링 시큐리티를 이용한 회원가입과 로그인 기능을 만들어보겠습니다.
시작
먼저 pom.xml 에서 security 관련 dependency 의 주석을 제거합니다.
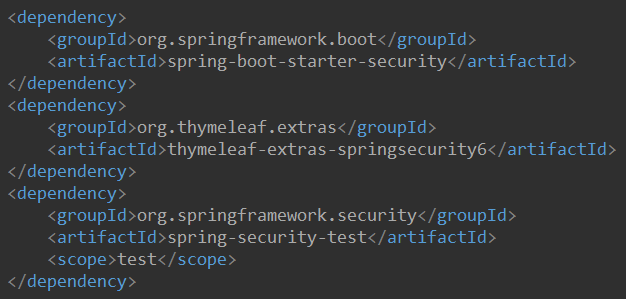
위에 security 와 관련된 3개의 dependency 를 주석을 제거하고
Springboot 를 재실행하고 localhost:8080 에 접속을 하면 다음과 같은 화면이 나옵니다.
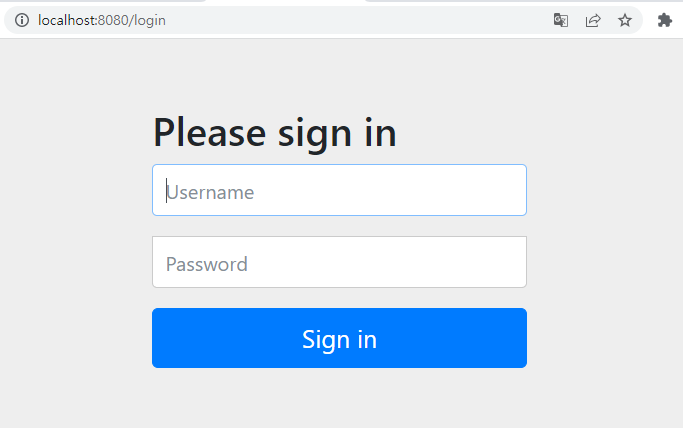
이것은 스프링 시큐리티가 인증되지 않은 사용자를 해당 페이지에 접속하지 못하도록 하는 기능으로
Eclipse 의 콘솔창에 출력되는 password 를 통해 접속할 수 있습니다.
(이때, Username 은 user 입니다.)
Using generated security password: 04f610d7-725a-46b8-9e5a-ce874f362c6f

This generated password is for development use only. Your security configuration must be updated before running your application in production.
다음과 같이 user 와 password 를 입력하고 Sign in 을 클릭하면
기존의 페이지로 이동하는것을 볼 수 있습니다.

스프링 시큐리티 설정
다음으로 스프링 시큐리티 설정 파일을 작성합니다.
com.crud 패키지 안에 SecuriyConfig.java 파일을 생성합니다.

다음으로 SecurityConfig 파일을 아래와 같이 작성합니다.
package com.crud;

import org.springframework.context.annotation.Bean;
import org.springframework.context.annotation.Configuration;
import org.springframework.security.config.annotation.web.builders.HttpSecurity;
import org.springframework.security.config.annotation.web.configuration.EnableWebSecurity;
import org.springframework.security.web.SecurityFilterChain;
import org.springframework.security.web.util.matcher.AntPathRequestMatcher;

@Configuration
@EnableWebSecurity
public class SecurityConfig {

	@Bean
	SecurityFilterChain filterChain(HttpSecurity http) throws Exception {
		http.authorizeHttpRequests().requestMatchers(
				new AntPathRequestMatcher("/**")).permitAll();

		return http.build();
	}
}
여기서 @EnableWebSecurity 애노테이션은 요청받은 모든 url 은 시큐리티의 제어를 받도록 합니다.
다음으로 SecurityFilterChain 을 작성해서 빈으로 등록합니다.
SecurityFIlterChain 안의 내용을 보면 AntPathRequestMatcher("/**").permitAll() 이라는 명령어가 있는데
이는 / 이하의 모든 주소는 접근을 허용한다는 뜻입니다.
이전에 로그인을 했던 기록을 개발자 도구에서 쿠키를 삭제해줍니다.

위와 같이 쿠키의 localhost:8080 를 클릭하고 삭제합니다.

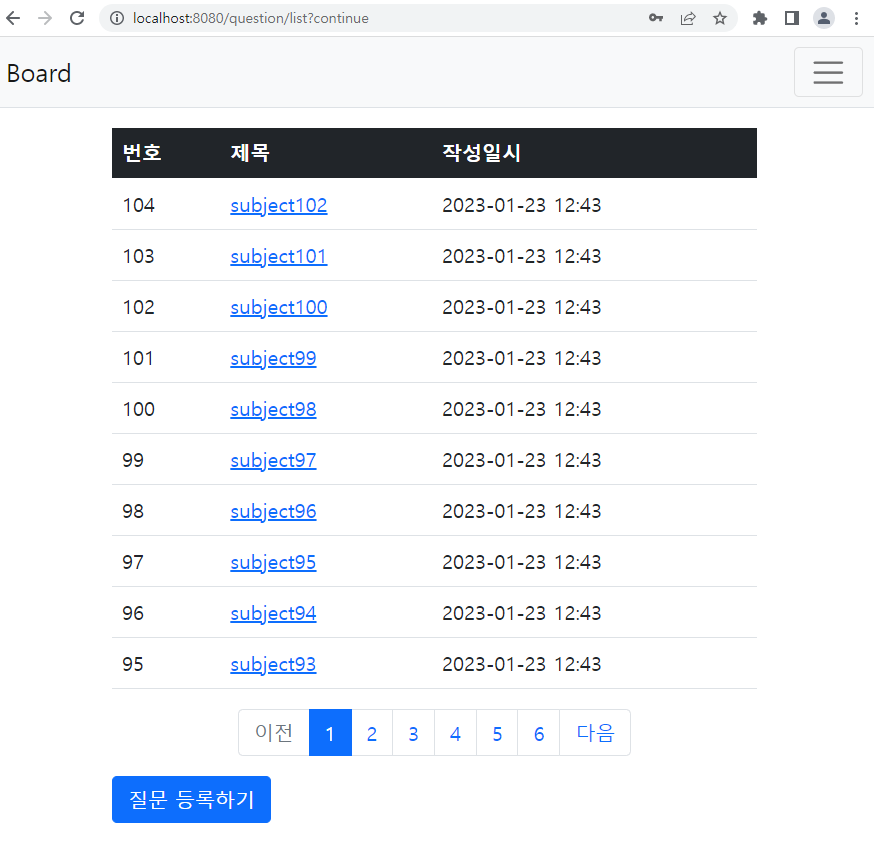
Springboot 를 재실행하고 다시 접속을 해보면 다음과 같이 모든 페이지에 로그인하지 않고
접속할 수 있는것을 알 수 있습니다.

'Spring > Springboot 실습' 카테고리의 다른 글
| 게시판 만들기 - 로그인 (0) | 2023.01.25 |
|---|---|
| 게시판 만들기 - 회원가입(2) (0) | 2023.01.24 |
| 게시판 만들기 - 페이징 처리(2) (0) | 2023.01.22 |
| 게시판 만들기 - 페이징 처리(1) (0) | 2023.01.22 |
| 게시판 만들기 - 네비게이션바 (0) | 2023.01.22 |
